Mid Fade Neckline Maintenance: How to Keep It Clean at Home

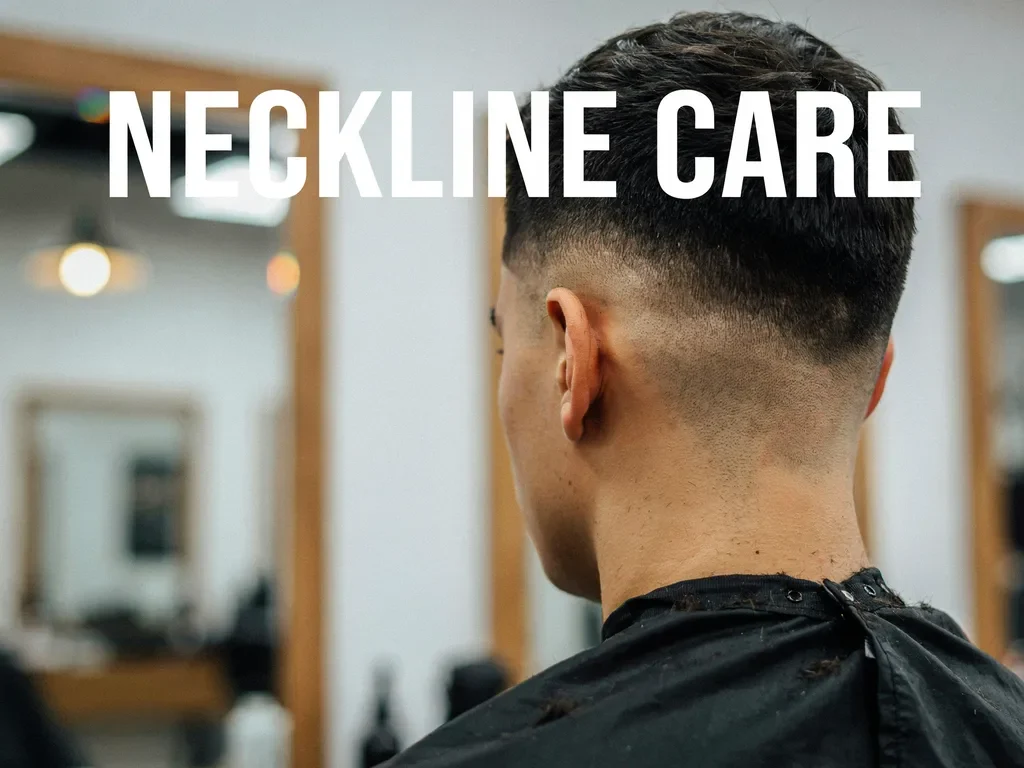
Quick answer: The neckline is the fastest-growing, most visible part of a mid fade to maintain between full cuts. Trim it with a basic trimmer, following the shape your barber already established rather than redesigning it, about once a week if you’re on a 3 to 4 week cutting schedule. Use a mirror setup that lets you actually see the back of your neck, and go slowly with short, light passes.
Of all the areas that grow visibly out of place between mid fade appointments, the neckline is usually the first to look untidy, often well before the main fade blend needs attention. It’s also one of the easiest areas to manage yourself, since it’s a relatively simple, repetitive shape rather than a graduated blend.
Why the neckline grows out first
Hair at the neckline tends to be finer and, on many people, grows in slightly different directions than the rest of the head, which makes even small amounts of regrowth more visually obvious. It’s also directly against the collar of shirts and jackets, so any strays or unevenness get noticed constantly throughout the day in a way that hair higher up the head doesn’t.
What tools you actually need
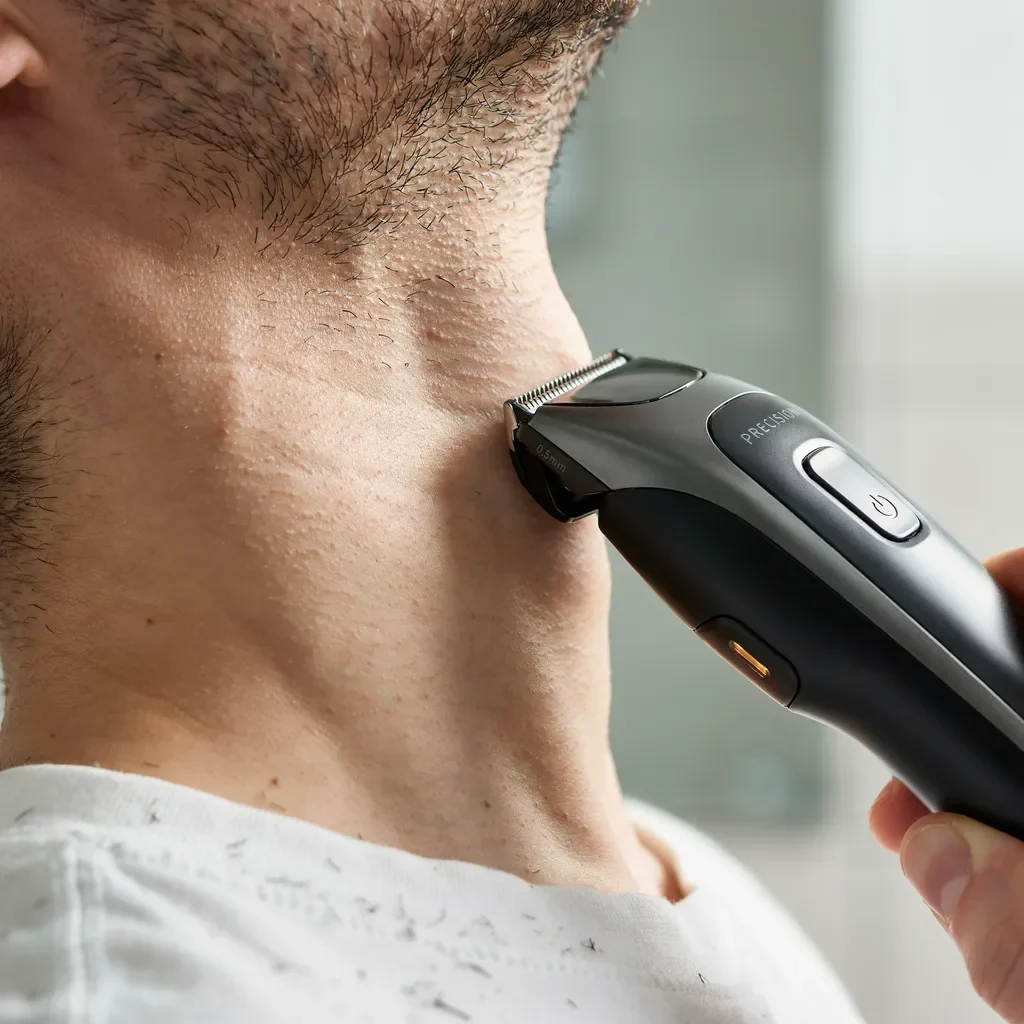

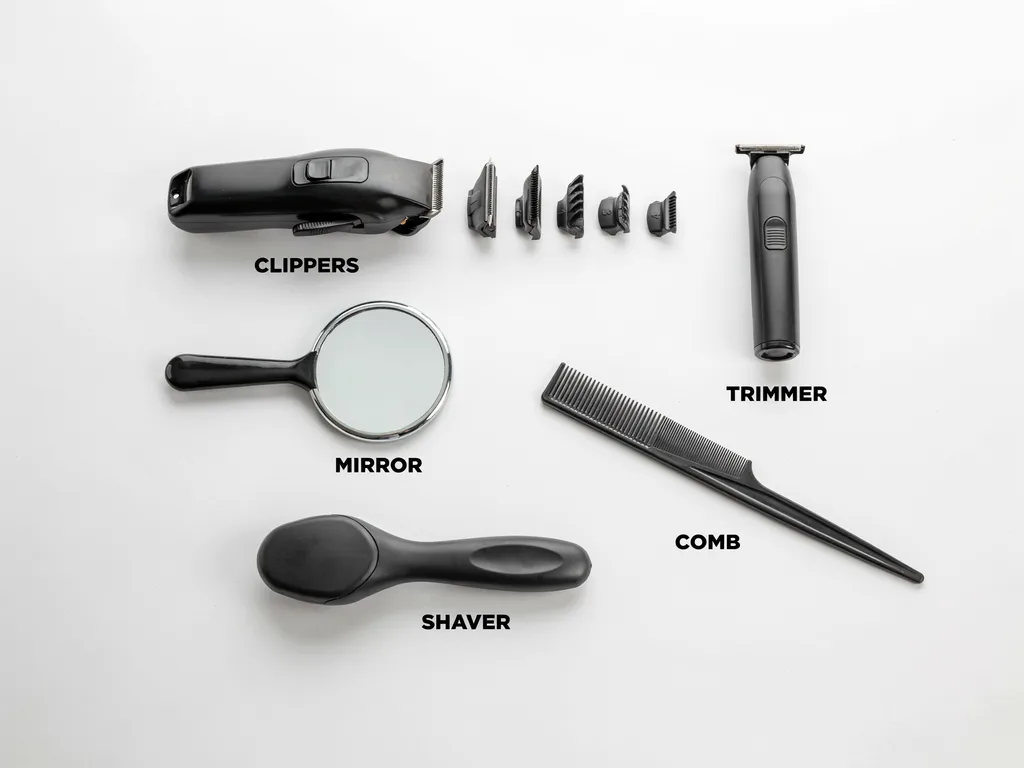
A basic cordless trimmer with an edging or detail attachment is enough, you don’t need barbershop-grade clippers for this. Many trimmers come with a narrow “T-blade” or detail head specifically designed for lines and edges, which makes neckline work considerably easier than trying to use a wide clipper blade. A second mirror, positioned so you can see the reflection of the back of your neck in your main bathroom mirror, is genuinely necessary, attempting this by feel alone is how uneven necklines happen.
The two neckline shapes you’ll be maintaining
Most mid fades use one of two neckline styles, and it matters which one you have before you start trimming:
A tapered neckline blends gradually into the hairline with no hard edge, soft and natural-looking. If this is your shape, use light, upward passes with the trimmer rather than a single hard line, gradually blending rather than cutting a sharp edge.
A blocked (or squared) neckline has a defined, straight edge at the bottom of the hairline. If this is your shape, you’re maintaining a clean line rather than a blend, go slowly, check symmetry from side to side frequently, and resist the temptation to keep tidying it “just a little more,” since a squared neckline shows unevenness more obviously than a tapered one.
Step-by-step
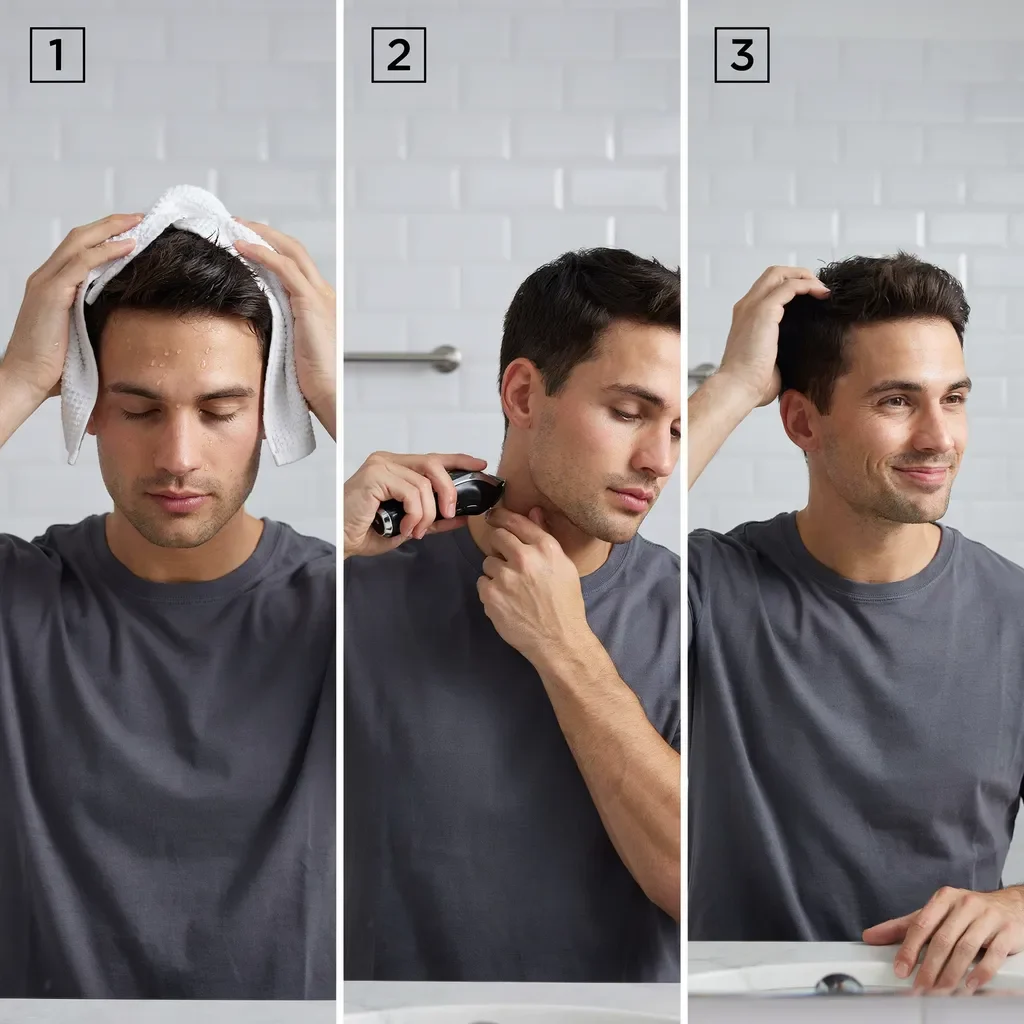
- Wash and fully dry your hair, wet or damp hair gives an inaccurate sense of the actual length you’re cutting.
- Set your trimmer to the same guard length used at your last barbershop visit, or one size longer if you’re unsure, you can always go shorter, not the reverse.
- Position your mirrors so you can clearly see the back of your neck.
- For a tapered neckline: work in short upward strokes, following the existing gradual shape, checking often.
- For a blocked neckline: define the bottom edge first with light, controlled horizontal passes, then clean up just above it.
- Check the result under good lighting, ideally daylight, before considering it finished. Bathroom lighting alone often hides unevenness that becomes obvious later.
Common mistakes
Going in without a plan for the shape. Trimming a naturally tapered neckline into a hard, squared edge (or the reverse) changes the whole character of the haircut, not just the neckline itself. Match what your barber already did.
Overcorrecting. If one side looks slightly longer than the other, resist the urge to keep trimming both sides evenly shorter to “fix” it, this is how a small asymmetry turns into an overall neckline that’s shorter than intended. Make small adjustments, check, and stop as soon as it looks even.
Rushing. Neckline maintenance takes a few minutes done carefully. Doing it in thirty seconds while getting ready in the morning is the most common cause of visible mistakes.
How often should you actually do this?
Roughly once a week is a reasonable default if your full cuts are spaced 3 to 4 weeks apart, since that’s typically when the neckline starts looking noticeably grown-in relative to the rest of the haircut. If you’re getting full cuts every 2 weeks, you likely won’t need to touch the neckline in between at all.
What if it goes wrong?
A slightly uneven neckline is one of the easiest things for a barber to correct, it’s a small, localized area, and most barbers see this exact situation regularly. If it’s noticeably off before your next scheduled appointment, it’s reasonable to book an earlier visit specifically for a correction rather than continuing to try to fix it yourself, which tends to make small issues bigger.
The bottom line
The neckline is the single most useful area to maintain yourself between mid fade appointments, since it grows visibly faster than the rest of the haircut and is straightforward to manage with a basic trimmer and a bit of patience. Match the shape your barber already established, work slowly with good lighting, and stop as soon as it looks even, resist the temptation to keep adjusting past that point.
Frequently asked questions
How often should you trim your own neckline between mid fade cuts? About once a week works well for a 3 to 4 week cutting schedule, since the neckline tends to be the first area to look grown-in. Shorter cutting schedules may not require any at-home trimming.
What tools do you need for neckline maintenance? A cordless trimmer, ideally with a narrow detail or T-blade attachment, plus a mirror setup that lets you clearly see the back of your neck.
Should you copy your barber’s exact neckline shape at home? Yes. Whether your neckline is tapered or blocked (squared), maintaining that same shape rather than changing it keeps the haircut looking consistent with what your barber originally cut.
What’s the most common mistake when trimming your own neckline? Overcorrecting minor unevenness by continuing to trim both sides shorter, which often turns a small asymmetry into a neckline that’s shorter than intended overall.
What should you do if your at-home neckline trim looks uneven? Stop adjusting it yourself and, if it’s noticeably off, consider booking an earlier appointment for a correction. It’s a small, easy fix for a barber, and further self-trimming usually makes it worse.
About the Author
Daniel Reyes got his first mid fade almost by accident. He asked his barber for “just a fade” and got one that started right at temple level. It became the cut he kept going back to, so he built mid-fade.com to cover it properly instead of burying it in generic fade lists.