How to Blend a Mid Fade (The Technique Explained)

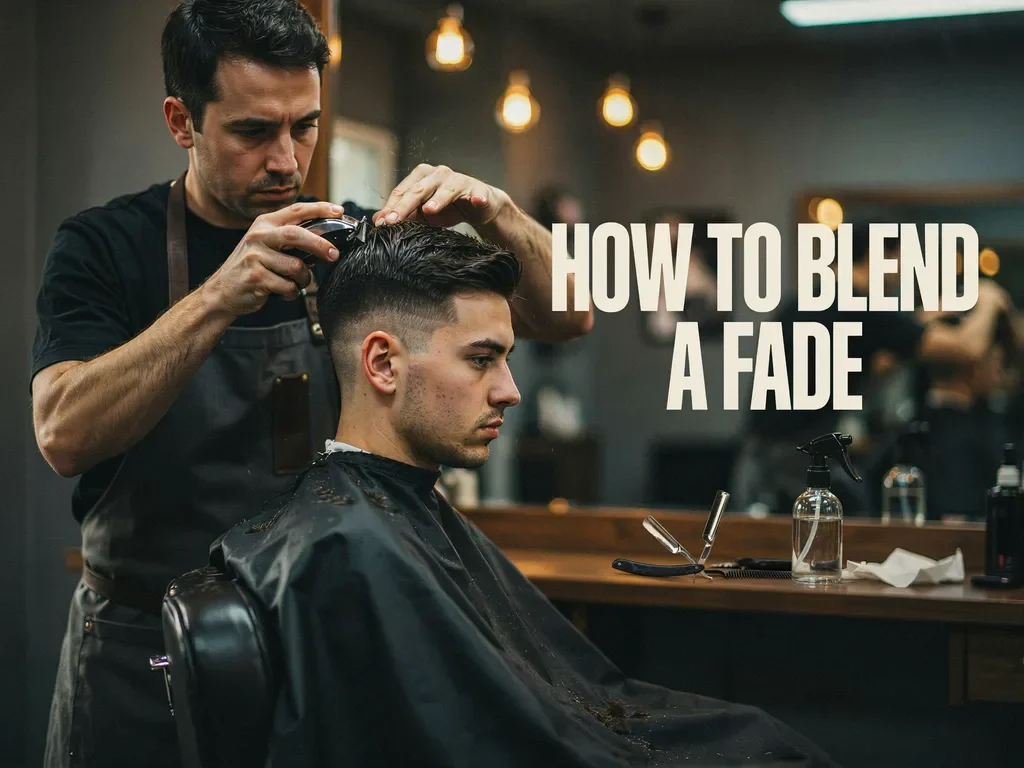
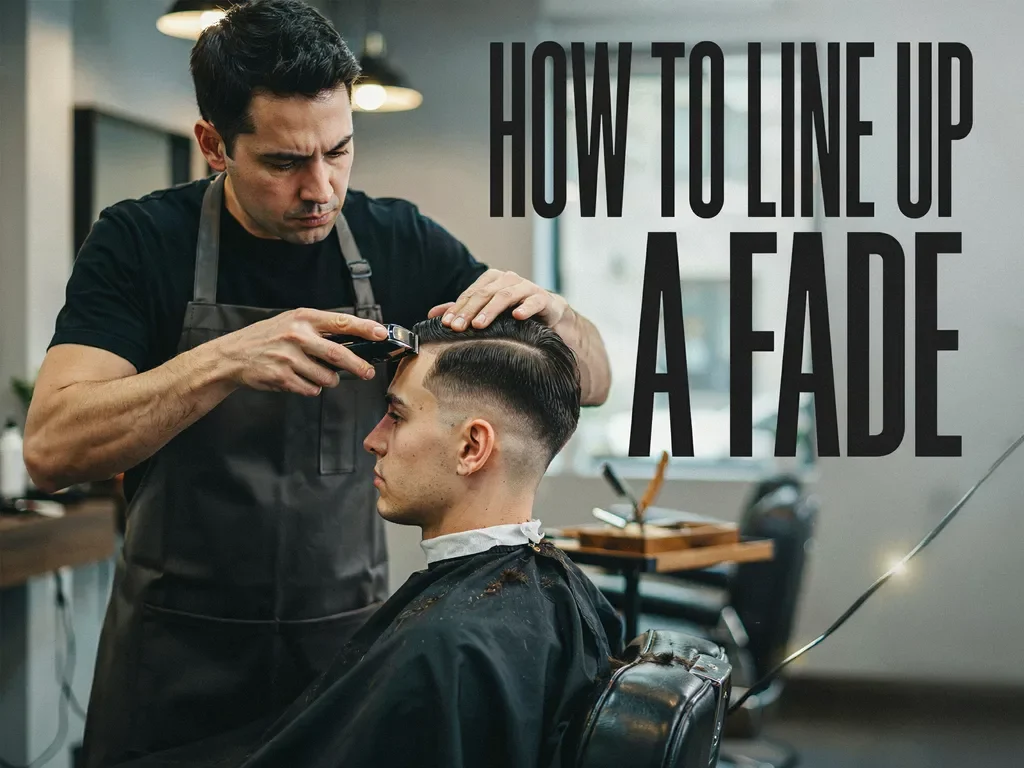
Quick answer: To blend a mid fade, you remove the hard lines between guard lengths so the sides look like a smooth gradient instead of stacked steps. The core technique is the "flick" — running the clipper up and arcing it out at the point where two lengths meet — plus half-guard passes and clipper-over-comb work. Blend one line at a time, from the bottom up, and check in the light until no steps are visible.
A mid fade is really just a few guard lengths stacked short-to-long. What turns those steps into a clean fade is the blend — and it's the single skill that separates a sharp cut from a patchy one. This guide explains exactly how blending works so you understand what your barber is doing, or can do it yourself.
Why blending is the whole game
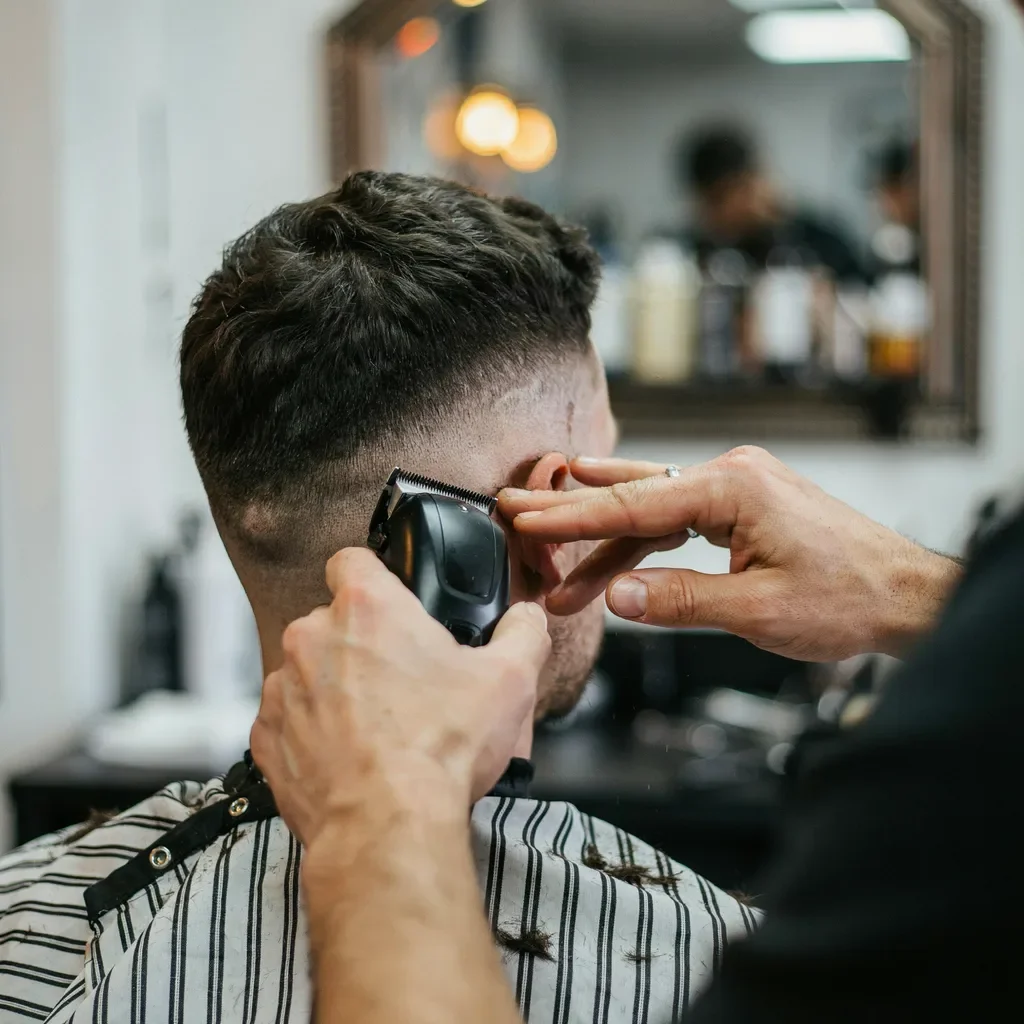
When you run different guards up the side — say a #1, then a #2, then a #3 — you get visible lines where each length meets the next, like steps on a staircase. Blending erases those steps so the eye sees one continuous fade from short to long. Get this right and the cut looks professional; get it wrong and you see "lines" or a "bucket" effect. The guard numbers set the steps; the blend makes it a fade. For the guard ladder itself, see our Clipper Guard Numbers for a Mid Fade guide.
The three core blending techniques
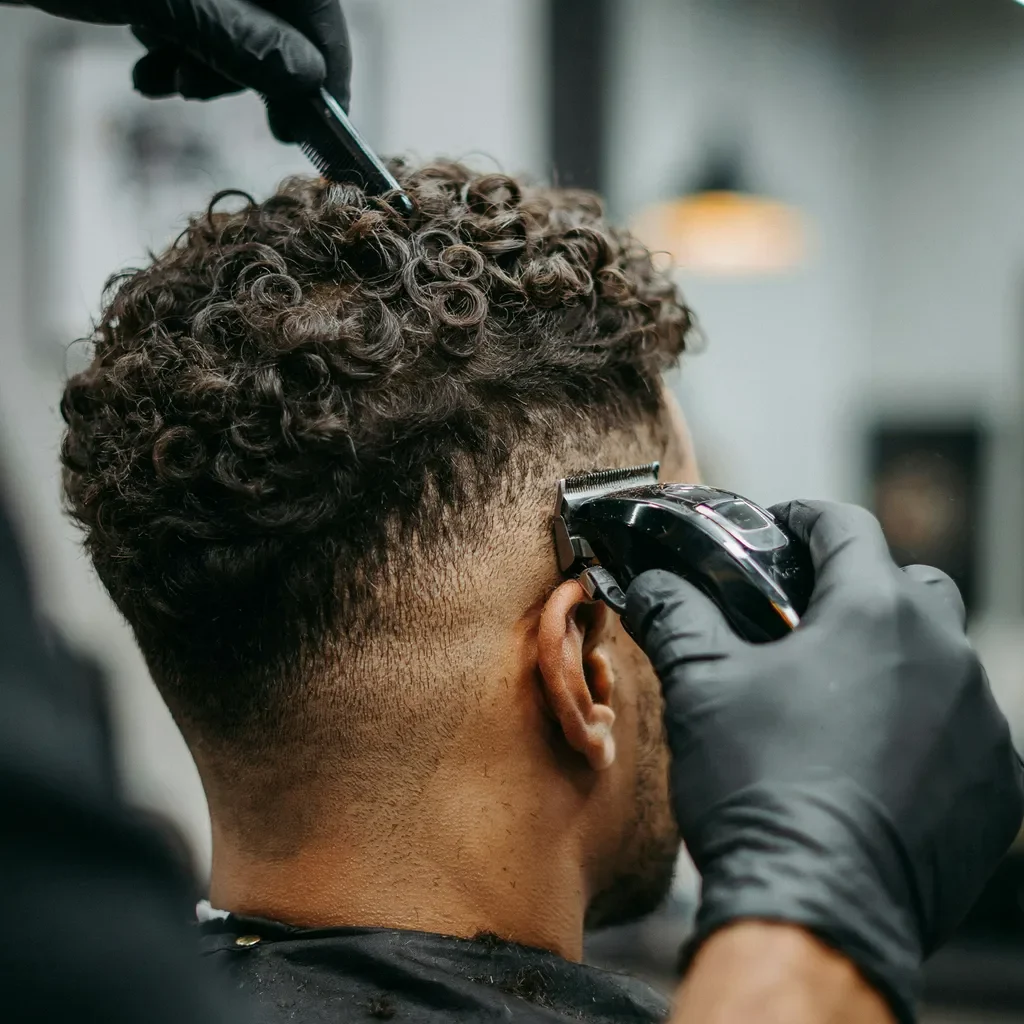
1. The flick (rocking the clipper out)
This is the main move. You run the clipper upward toward a guard line, and just as you reach it, you arc the clipper away from the head in a smooth flicking motion. This feathers the hair at the transition instead of cutting a hard line. Repeated flicks along a line soften it into a gradient. Beginners should practise this slow and shallow.
2. Half-guard and lever passes
Most clippers have an adjustable lever (taper lever) that shortens the guard slightly without changing it. Using in-between lengths — a "half-step" between a #1 and a #2 — fills the gap between two full guards, so the jump in length is smaller and easier to blend. Barbers also keep half-size guards for the same reason.
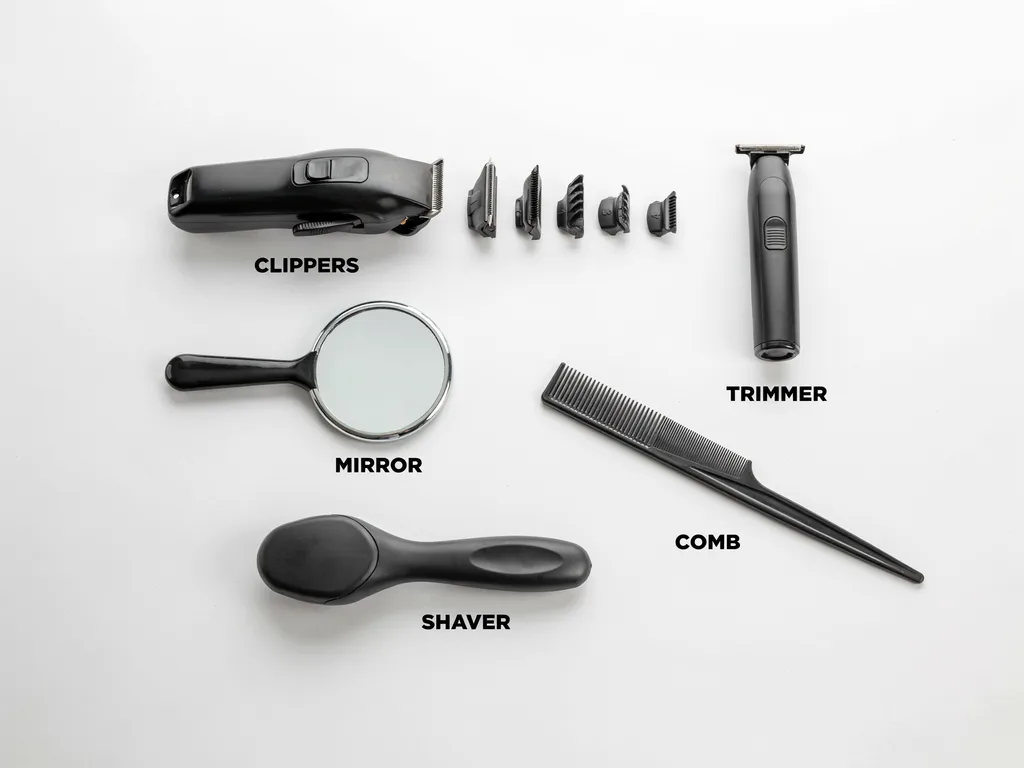
3. Clipper-over-comb
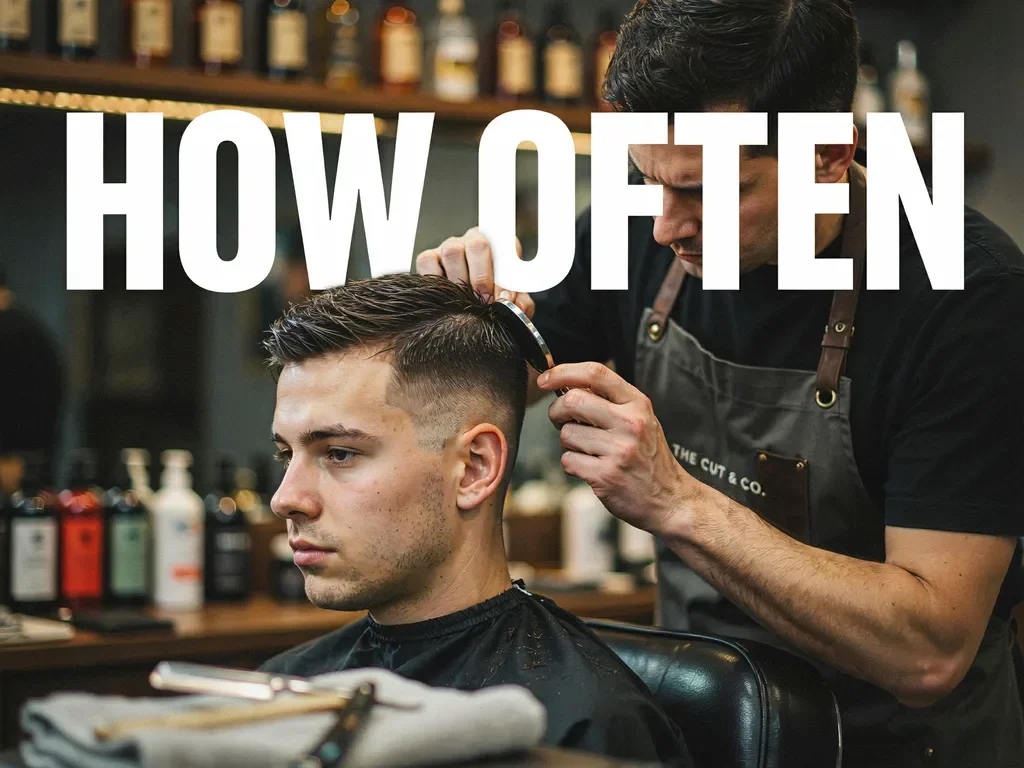
For the finest control, especially near the top of the fade and where it meets the long top, barbers lift the hair with a comb and cut over it. This lets them blend lengths the guards can't reach cleanly and soften the shelf between the fade and the top.
Step-by-step blending order
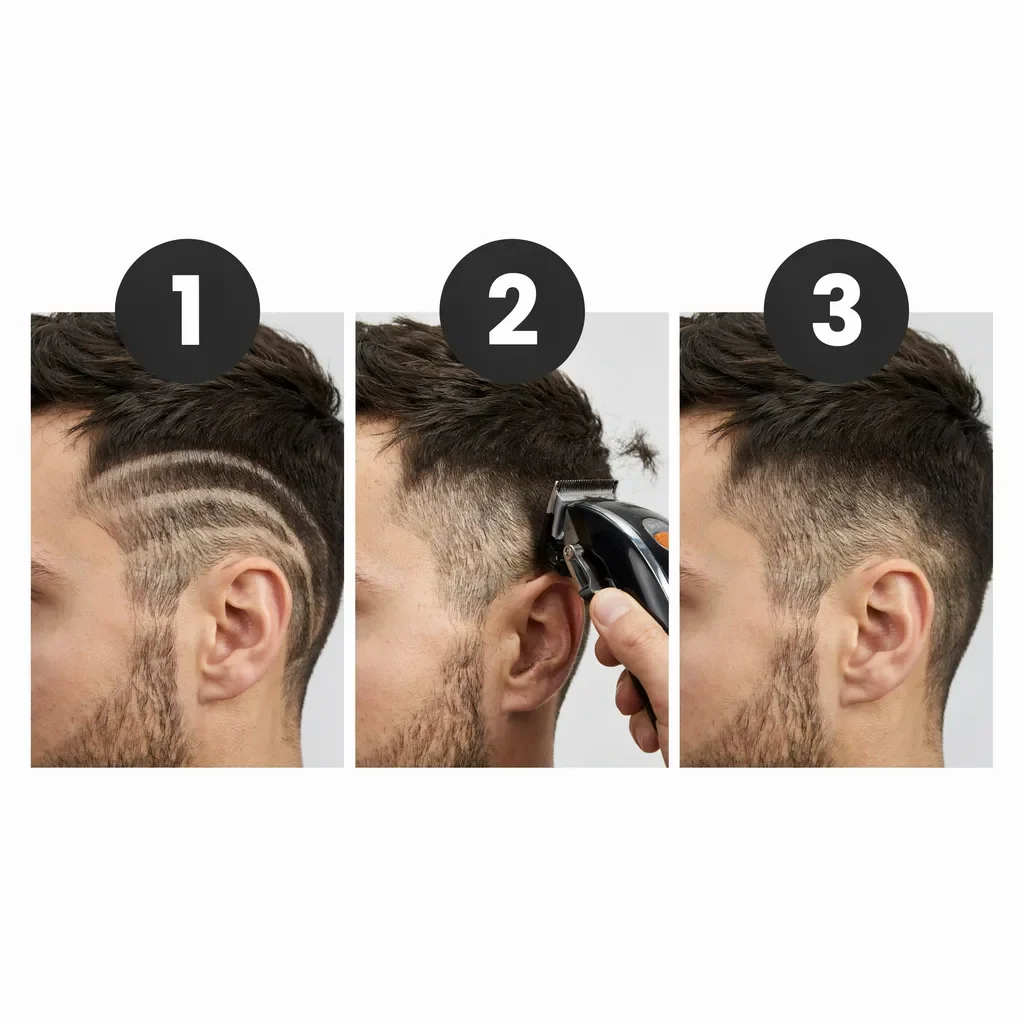
- Set your steps first. Cut the guard ladder (short at the bottom, longer to temple level) so you have your steps in place.
- Start at the lowest line. Take the guard one size down from the higher step and flick along the line where the two lengths meet.
- Work up, line by line. Move to the next line up and repeat. Never try to blend the whole side at once — do one transition at a time.
- Feather with the lever. Use half-steps to smooth any remaining jumps.
- Blend the top in. Use clipper-over-comb at temple level so the long top melts into the fade with no shelf.
- Check in the light. Turn your head under good lighting; steps cast tiny shadows. Re-flick anywhere you still see a line.
Common blending mistakes
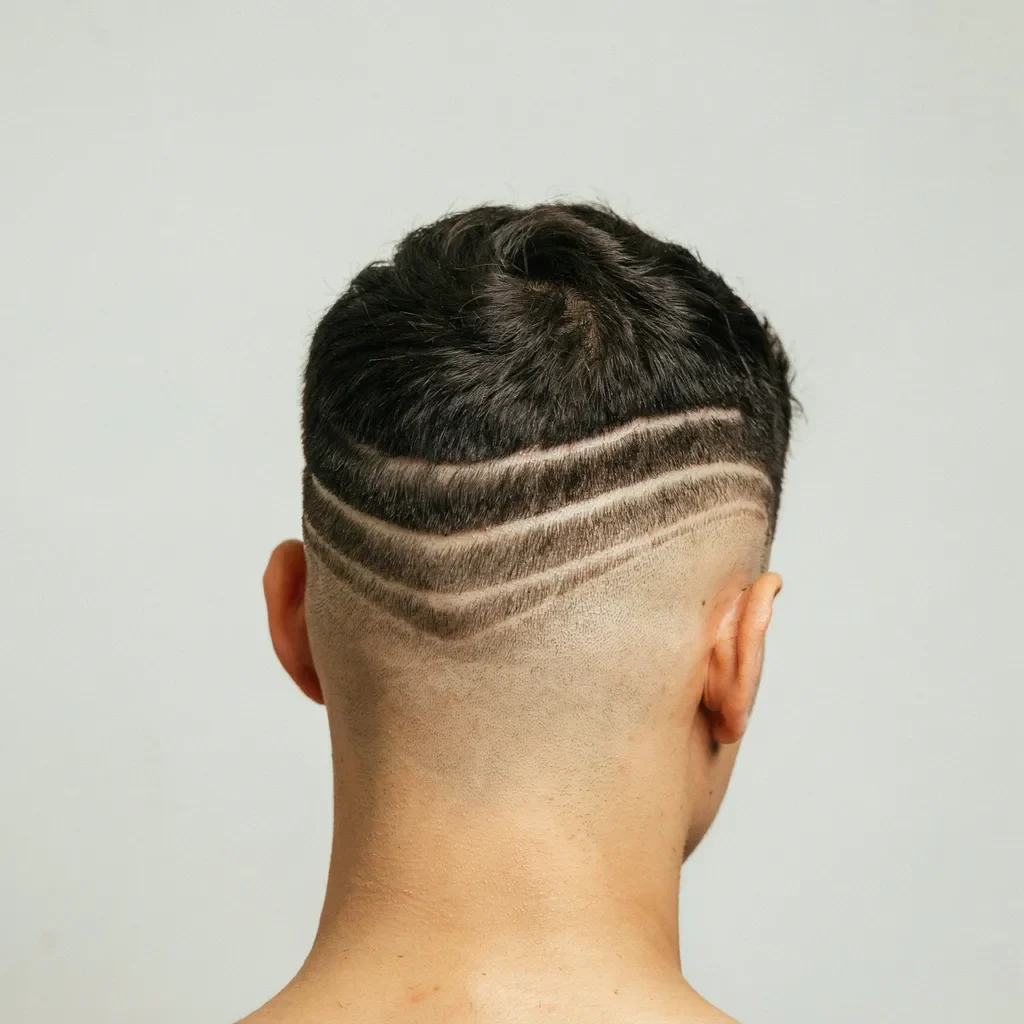
- Pressing too hard or going too deep on the flick — it gouges a light patch. Keep it shallow and let the motion do the work.
- Blending only at the end. Blend each line as you build the ladder, not all at once after.
- Ignoring the top-to-fade join. A great side blend still looks off if there's a shelf where the top meets the fade — clipper-over-comb fixes it.
- Uneven pressure left vs right. Check both sides match after each transition.
When to leave it to a barber
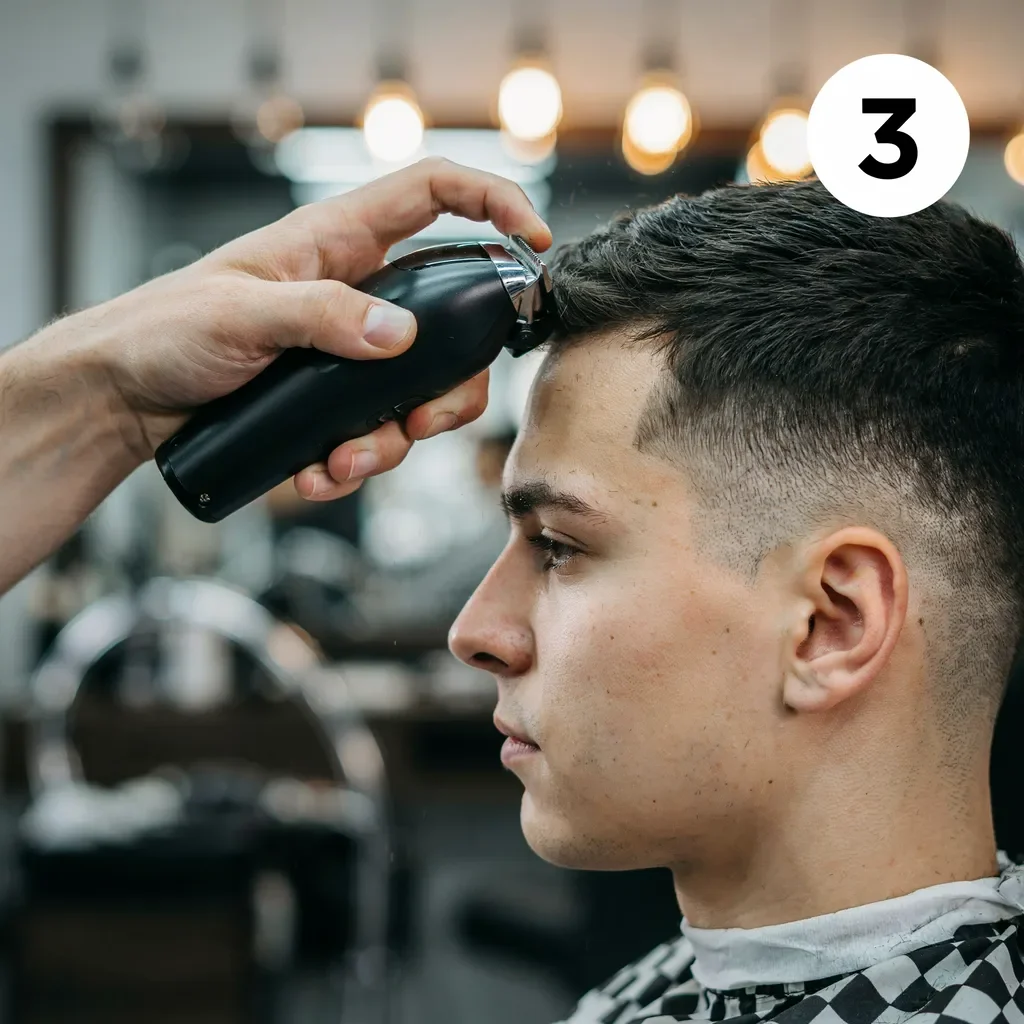
Blending the back of your own head is genuinely hard because you can't see it directly, and skin or razor finishes need a very controlled blend. For maintenance touch-ups between visits, home blending is fine with practice; for the sharpest result, a barber's trained hand and full clipper set win. To try it yourself, see our How to Do a Mid Fade at Home guide.
The bottom line
Blending a mid fade means erasing the lines between guard lengths using the flick, half-guard passes, and clipper-over-comb — done one transition at a time, from the bottom up, and checked in good light. Master the flick and the top-to-fade join, and your steps turn into a smooth, professional gradient.
Frequently asked questions
How do you blend a mid fade? Remove the hard lines between guard lengths by flicking the clipper out where two lengths meet, using half-guard/lever passes to fill the gaps, and clipper-over-comb near the top. Blend one line at a time, bottom-up.
What is the flicking motion in fading? It's running the clipper upward and arcing it away from the head just as you reach a guard line, which feathers the hair at the transition instead of cutting a hard step. It's the main blending move.
Why does my fade have lines? Visible lines mean the steps between guard lengths weren't blended out. Flick along each line with the next guard down, and use half-steps to smooth the jumps until the lines disappear.
What is clipper-over-comb used for in a mid fade? It lifts the hair with a comb and cuts over it for fine control, especially blending the top of the fade into the long top so there's no shelf where the two meet.
Can a beginner blend a mid fade? Yes, with practice — start with longer guards, blend one line at a time, and keep the flick shallow. The back of your own head is the hardest part, so many beginners leave that to a barber.
About the Author
Daniel Reyes got his first mid fade almost by accident. He asked his barber for “just a fade” and got one that started right at temple level. It became the cut he kept going back to, so he built mid-fade.com to cover it properly instead of burying it in generic fade lists.