How to Do a Mid Fade at Home (Step-by-Step Guide)


Quick answer: To do a mid fade at home, set the top aside, then work the sides in guard steps from short at the bottom to longer at temple level — for example a #1 low, #2 in the middle, #3 near the top — and blend the lines between them by flicking the clipper out ("clipper over comb" or the lever half-steps). Start conservative, blend slowly, and check both sides in a mirror. The fade starts at temple level; everything above stays long.
Cutting your own mid fade is doable with patience and the right guards, but the blend is where it's won or lost. This guide walks you through the tools, the exact steps, and the beginner mistakes to avoid. If you're nervous, start longer than you think — you can always go shorter, but you can't add hair back.
What you'll need
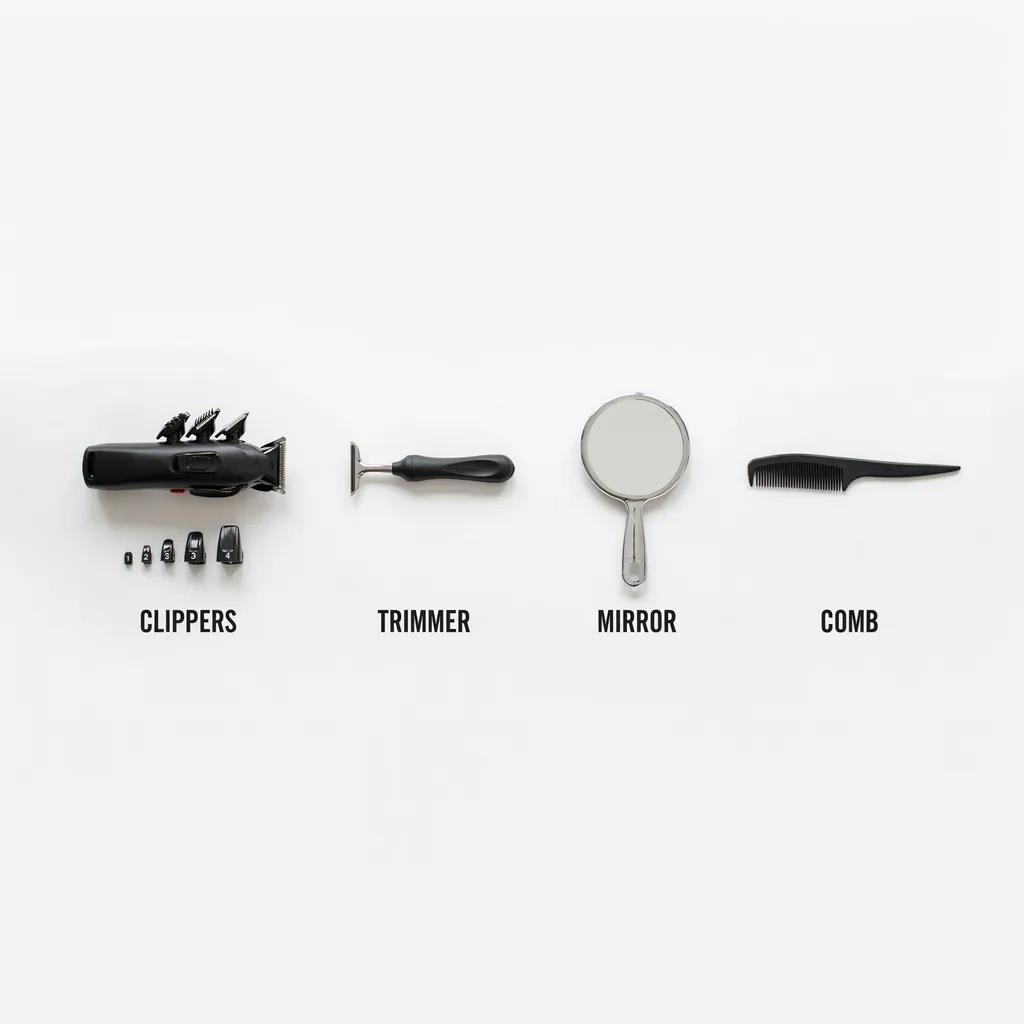
- Clippers with a full guard set (#0.5 through #4 at least), ideally with an adjustable lever.
- A trimmer or edger for the neckline and around the ears.
- A hand mirror to check the back, plus your main mirror.
- A comb for clipper-over-comb blending and for the top.
- Good lighting and time — don't rush a first attempt.
Understand the guard ladder
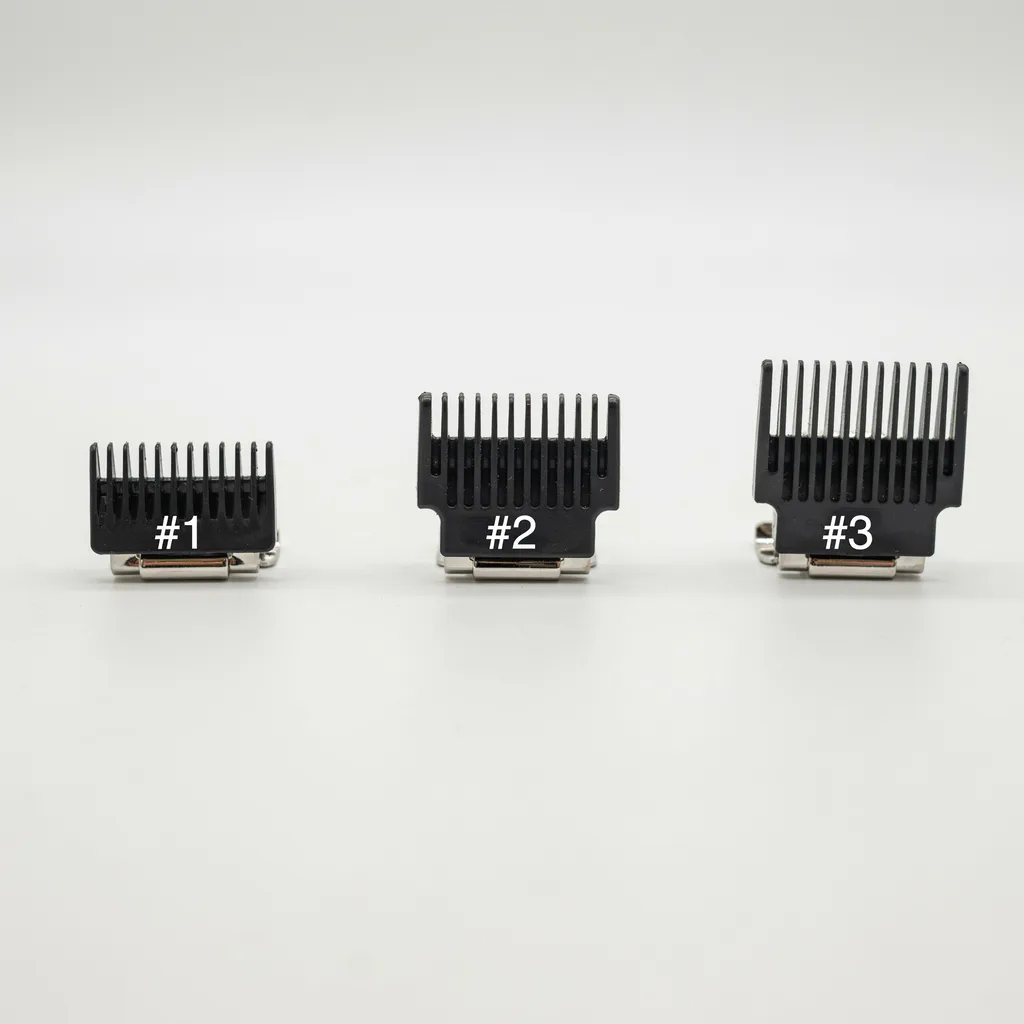
A fade is just several guard lengths stacked from short to long, with the hard lines between them blended away. Roughly:
- #0.5–#1 at the very bottom (near the ear/neck).
- #2 through the middle.
- #3 up toward temple level, where the fade ends.
- Everything above temple level stays at its full length (the top).
For a mid skin fade, start even shorter at the bottom (bare or a foil shaver); for a mid taper, keep the bottom at a #1 rather than skin. For where the fade should top out, see our Where Does a Mid Fade Start guide.
Step by step
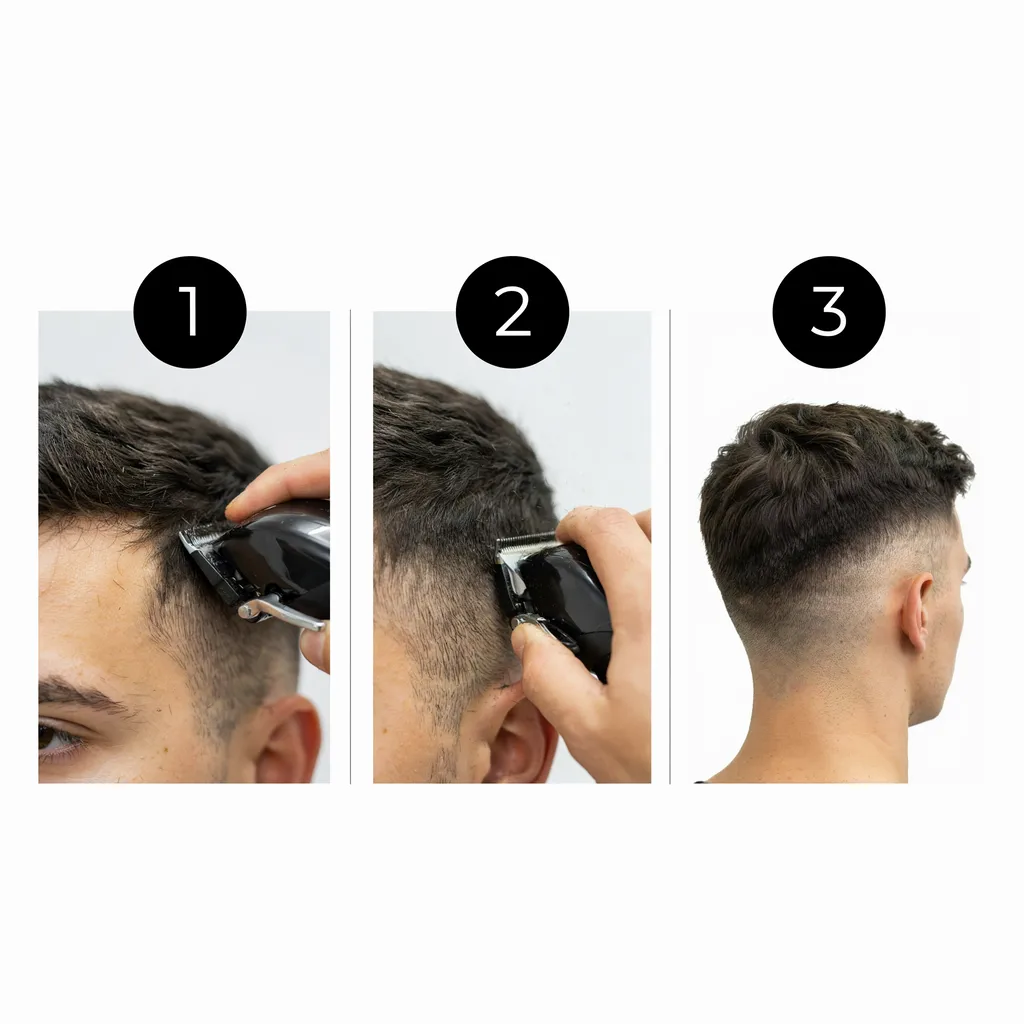
- Wash and dry, then section the top. Comb the top hair up and out of the way so you only work the sides and back.
- Set your baseline. Run your longest fade guard (#3) over the whole side up to temple level. This sets the top of the fade — don't go above the temple.
- Go shorter in bands, bottom-up in reverse. Take a #2 and run it up to about the middle of the side. Then a #1 up to just the lowest section. Now you have three "steps": #1 low, #2 mid, #3 high.
- Blend the lines. This is the key part. Where two guard lengths meet, there's a visible line. Blend it by using the next guard down and "flicking" the clipper outward as you move up (a rocking, arcing motion), or use clipper-over-comb. Work slowly and repeat over each line until the steps disappear.
- Blend the top into the fade. At temple level, gently taper the bottom of your long top hair into the top of the fade so there's no shelf.
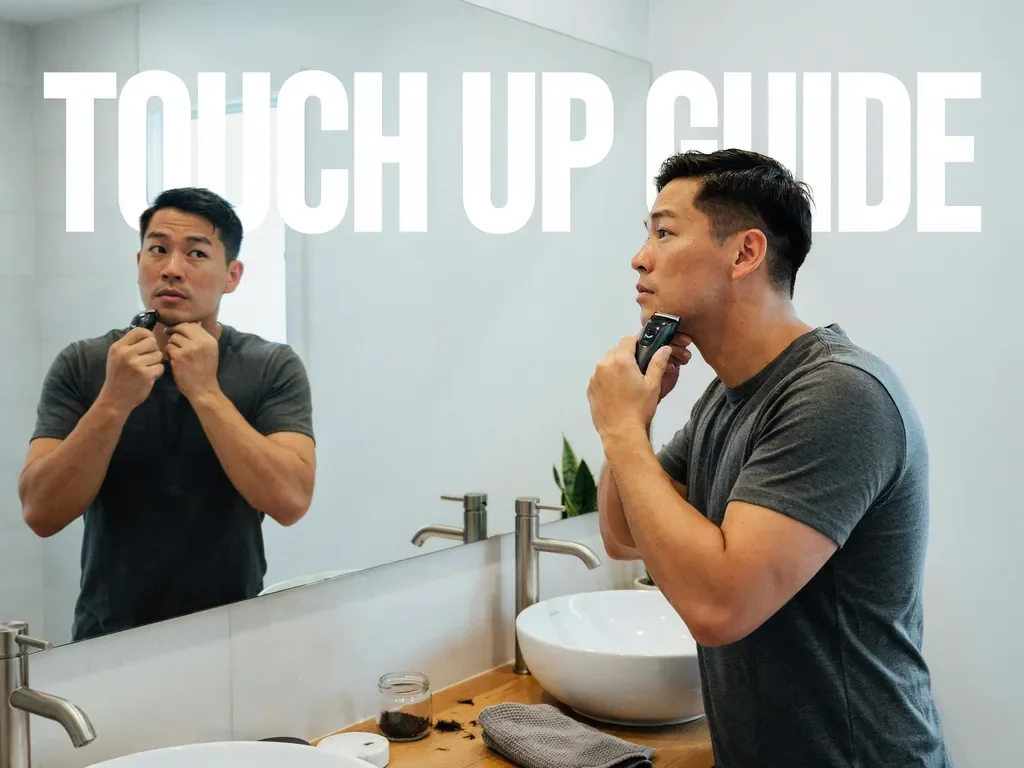
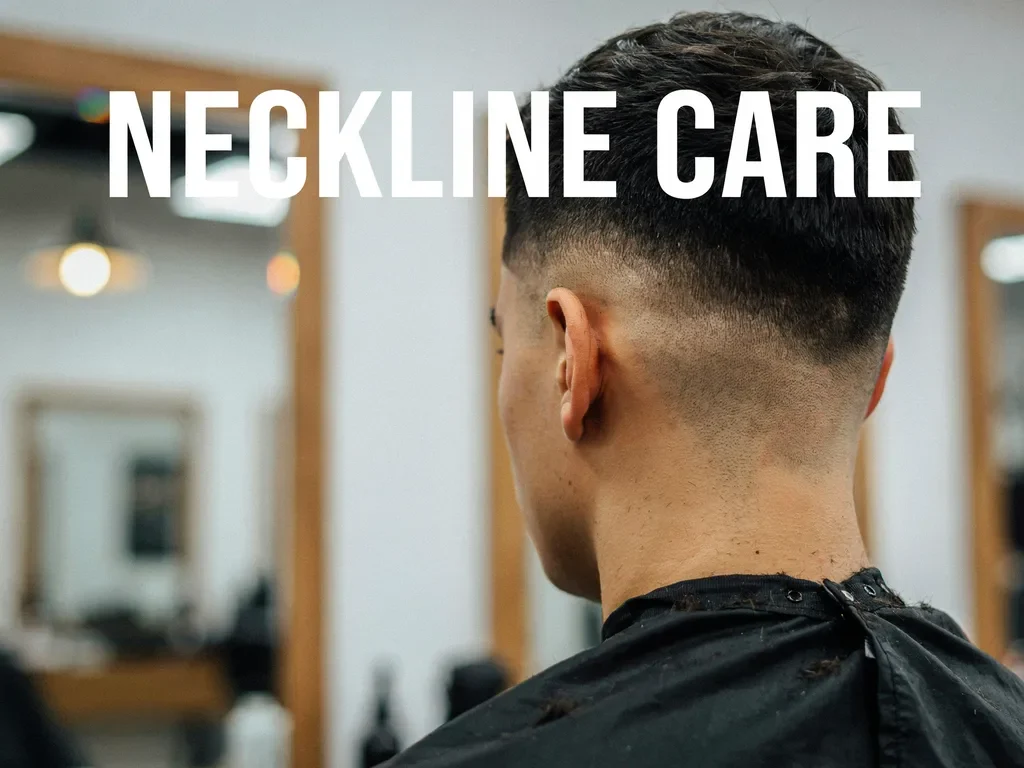
- Clean the edges. Use the trimmer to tidy around the ears and shape the neckline — a natural, blended neckline is the most forgiving.
- Check both sides and the back. Use the hand mirror. Compare the fade height and darkness on each side; even them up.
The most common mistakes to avoid
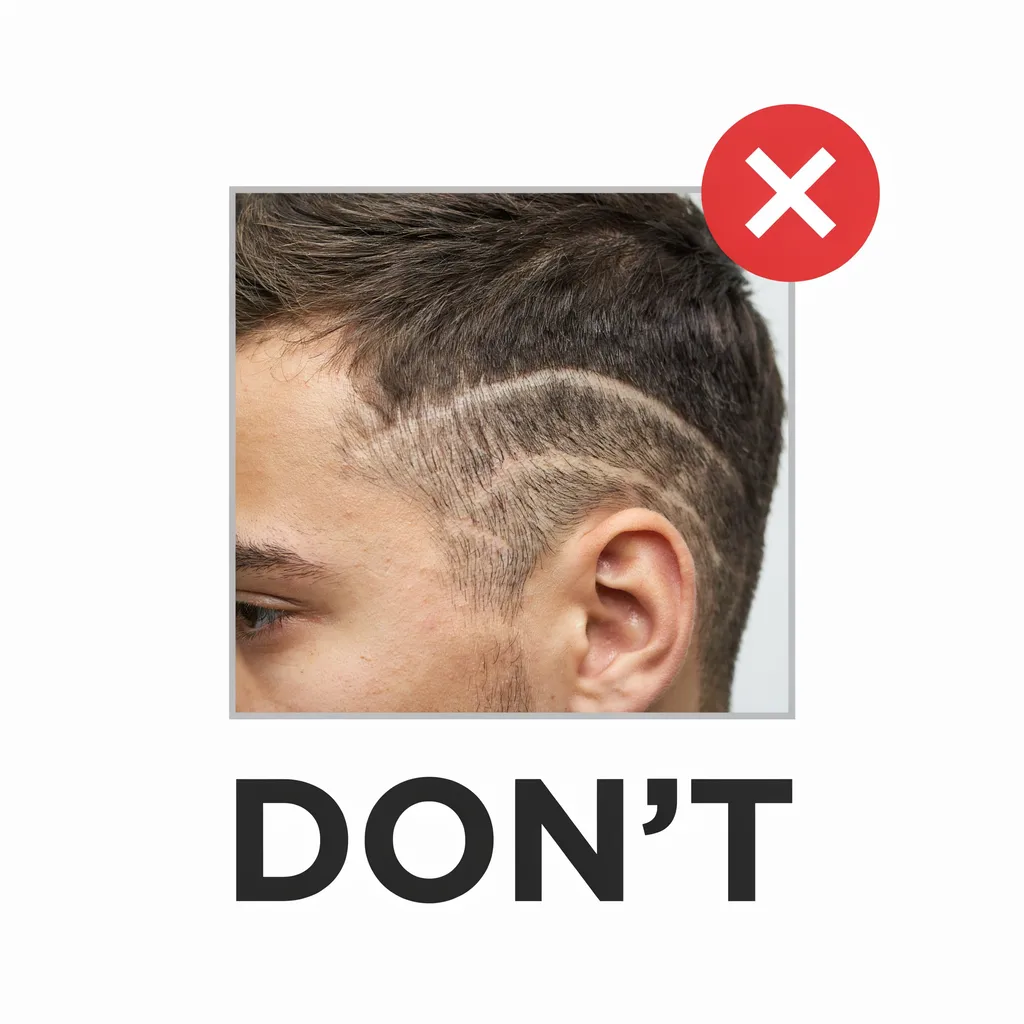
- Starting too short. Begin with longer guards; you can always drop down. Going too short first is the #1 home-fade regret.
- Rushing the blend. The lines between guards need repeated, patient passes. A blend is many small movements, not one.
- Uneven sides. Always compare left and right at each step, not just at the end.
- Taking the fade too high. Keep the top of the fade at temple level for a true mid fade — creeping up turns it into a high fade.
- Cutting the top too early. Do the top last, and blend it into the fade rather than chopping it separately.
When to just go to a barber

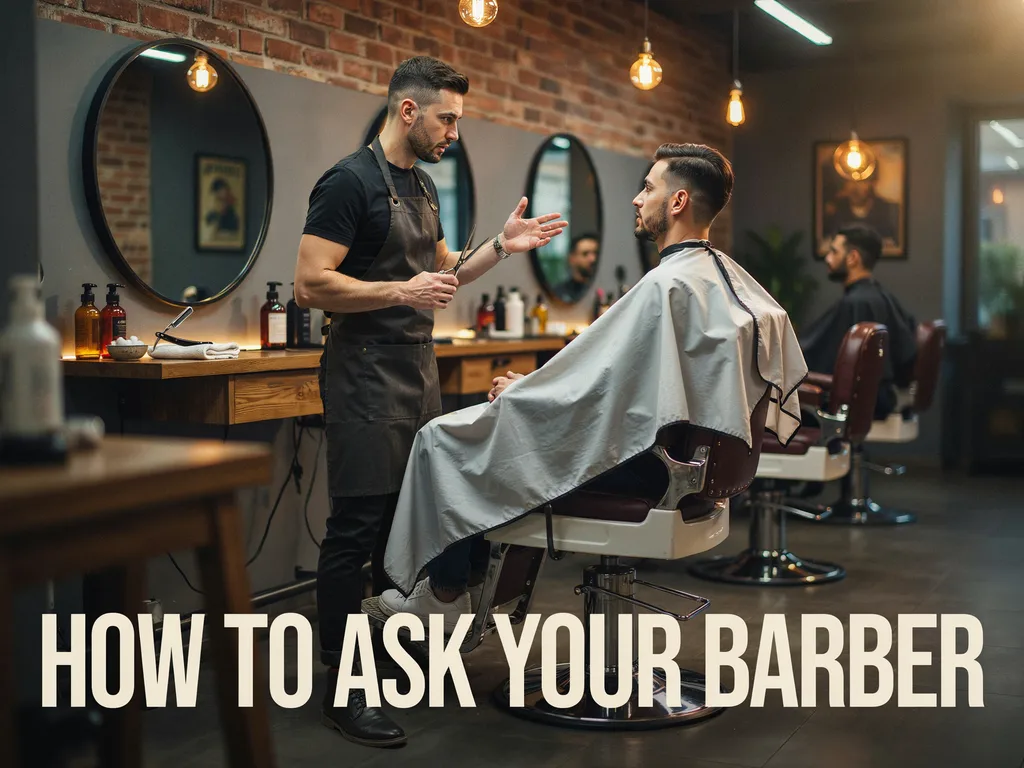
A first home fade rarely matches a barber's blend, and skin finishes or sharp lines are especially hard to self-cut on the back of your own head. If you have a big event, or you want a razor or full skin finish, a barber is worth it. Home cutting is best for maintenance between visits or a confident, practised hand.
The bottom line
A mid fade at home is a guard ladder — short at the bottom, longer to temple level — with the lines patiently blended away and the top done last. Start longer than you think, blend slowly, and check both sides in a mirror. Keep the top of the fade at the temple, and you'll get a clean, genuine mid fade.
Frequently asked questions
Can you do a mid fade at home? Yes, with a full guard set, a trimmer, a hand mirror, and patience. The blend between guard lengths is the hard part, so work slowly. Start with longer guards since you can always go shorter.
What clipper guards do I need for a mid fade? At minimum #0.5 to #4. A common setup is a #1 at the bottom, #2 in the middle, and #3 up to temple level, with the lines blended between them — plus a foil shaver or bare clipper for a skin finish.
How do you blend a mid fade at home? Where two guard lengths meet, blend the line by using the next guard down and flicking the clipper outward in a rocking arc, or use clipper-over-comb. Repeat patiently over each line until the steps disappear.
Where should a mid fade start when cutting at home? At temple level — about 1 to 2 inches above the ears. Set your longest fade guard up to that line first, and keep everything above it long. Going higher turns it into a high fade.
Is it better to cut a mid fade at home or go to a barber? Home cutting is great for maintenance and a practised hand, but a barber gives a cleaner blend, better back work, and safer skin or razor finishes. For big events, see a barber.
About the Author
Daniel Reyes got his first mid fade almost by accident. He asked his barber for “just a fade” and got one that started right at temple level. It became the cut he kept going back to, so he built mid-fade.com to cover it properly instead of burying it in generic fade lists.